

Diagnosing Basement Sump Pump Failures: Causes, Warning Signs, and Solutions

August 17, 2026

Sump pump failures are typically driven by a stuck mechanical float switch, a clogged intake screen, or a failed check valve. If a sump pump runs continuously without lowering the water level in the pit, the impeller has likely lost prime, or the discharge pipe is blocked or frozen.


Top Three Troubleshooting Root Causes


  1. Mechanical Float Switch Malfunctions: The float switch rises and falls along with the water level. If the pump migrates inside its basin and presses against the walls, the float can get pinned in the "on" or "off" position, leading to a burnt-out motor or a flooded basement floor.
  2. Failed Discharge Check Valve: The check valve is a one-way flap located on the vertical discharge line. If the valve fails, water that was pumped up will rush right back down into the basin when the motor stops, forcing your pump to cycle repeatedly.
  3. Weep Hole Air Locks: Small air pockets can get trapped beneath the pump's impeller. Drilling a 3/16-inch weep hole in the discharge pipe between the pump and the check valve allows trapped air to escape, ensuring the pump stays primed.
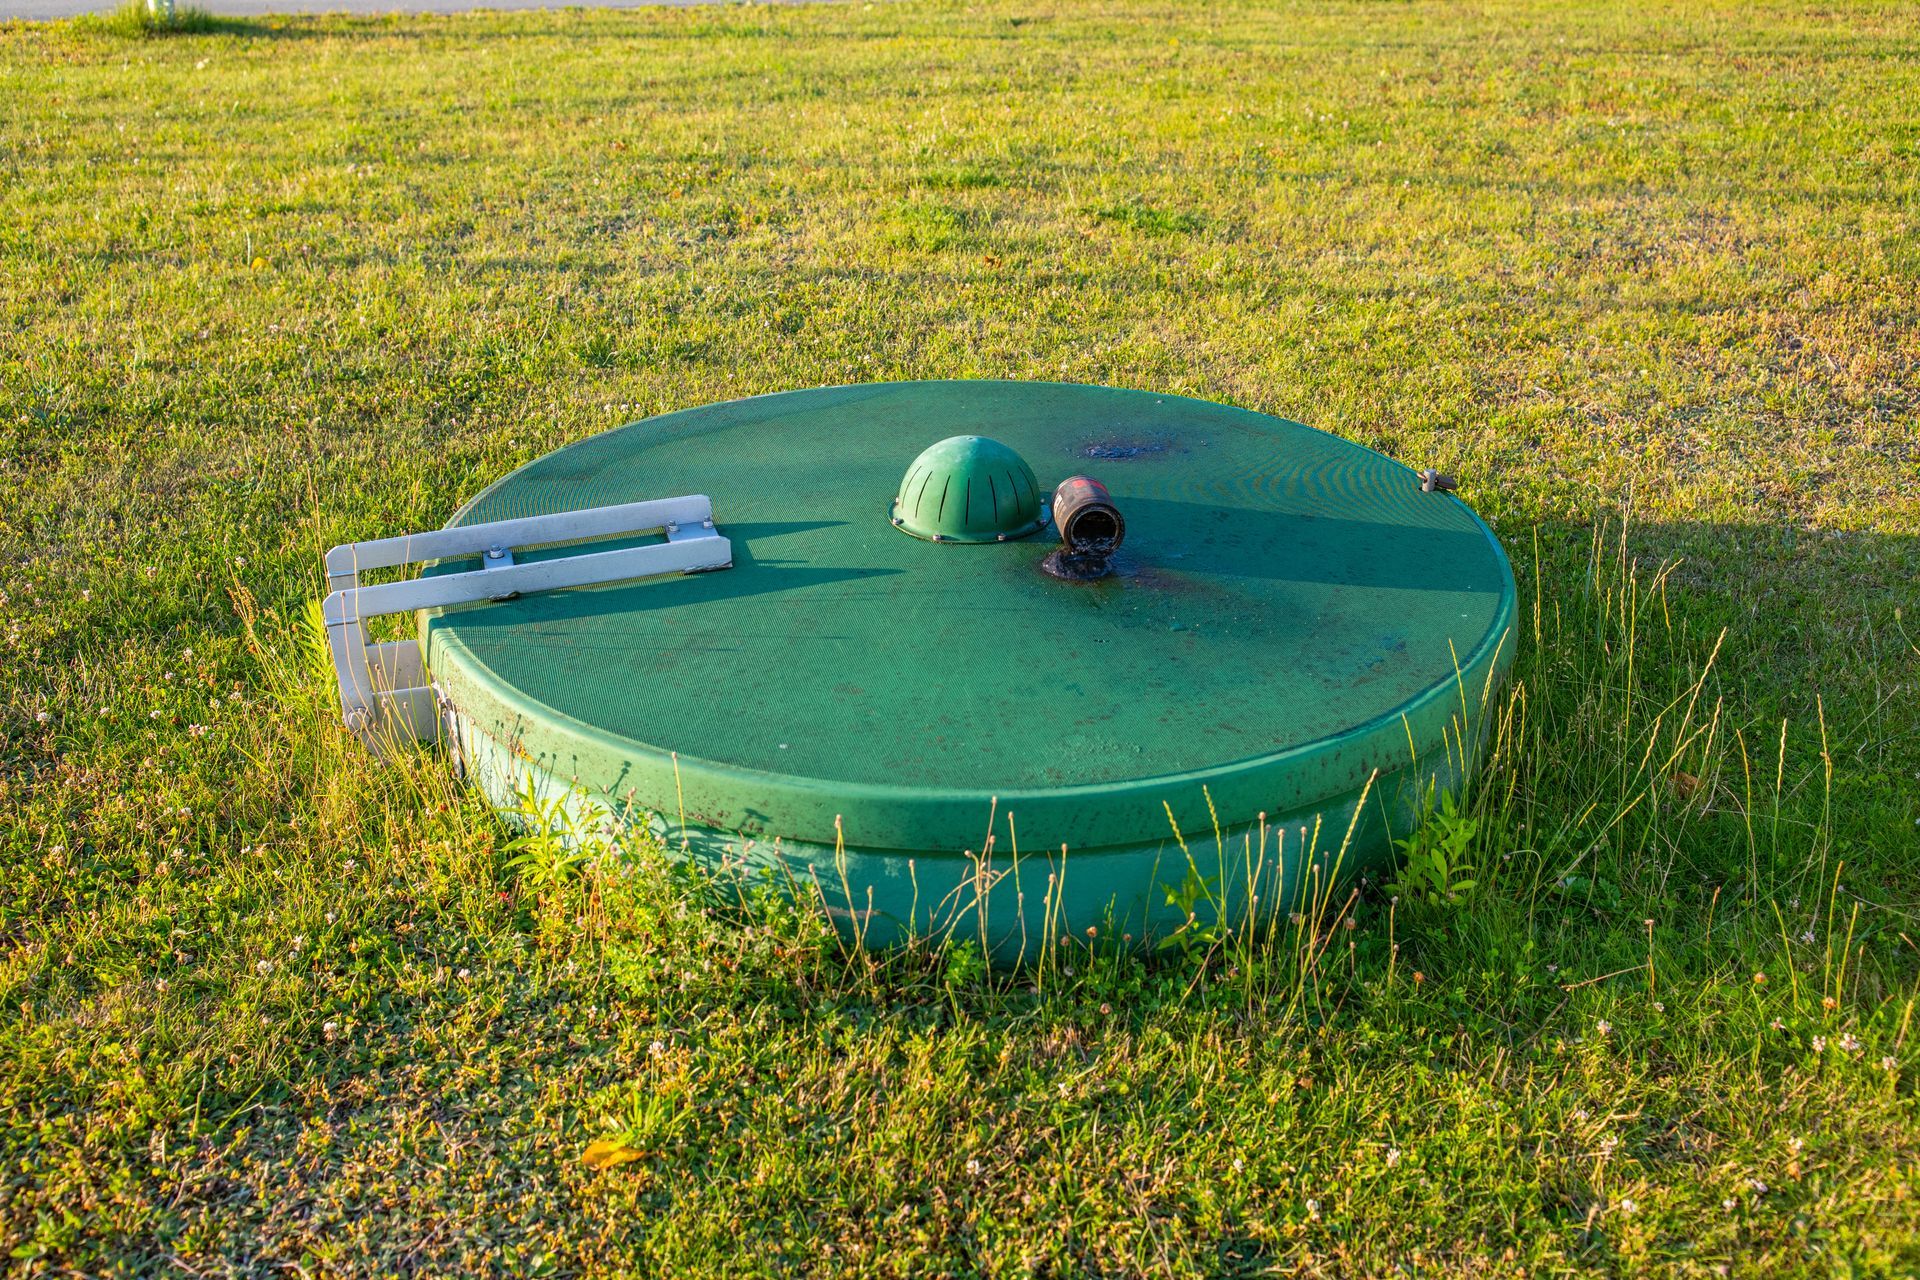
Green circular utility cover in grass with a metal handle attached on the left
August 17, 2026
A sewer scope inspection uses a high-resolution, waterproof fiber-optic camera pushed down your main lateral line to check the internal structure of your pipes. It is a critical step for prospective home buyers, as it reveals hidden issues like root intrusions, cracked clay tiles, or bellied lines that can cost anywhere from $3,000 to over $10,000 to fix after you close on the property. What the Fiber-Optic Lens Reveals Below the Slab A standard home inspector looks at visible plumbing fixtures but cannot check the health of buried underground pipes. A dedicated sewer scope maps out the entire run from your basement out to the municipal main link. Pipe Offset Identification : Over time, shifting soils can cause sections of clay sewer tile to misalign, creating an offset lip that catches debris and causes chronic backups. Low Spots (Line Bellies) : If a sewer line sags due to poor soil compaction, it creates a standing pool of water that slows down waste flow and leads to regular grease blockages. Structural Fractures : Explores cast-iron scaling and structural cracks before they turn into full pipe collapses.
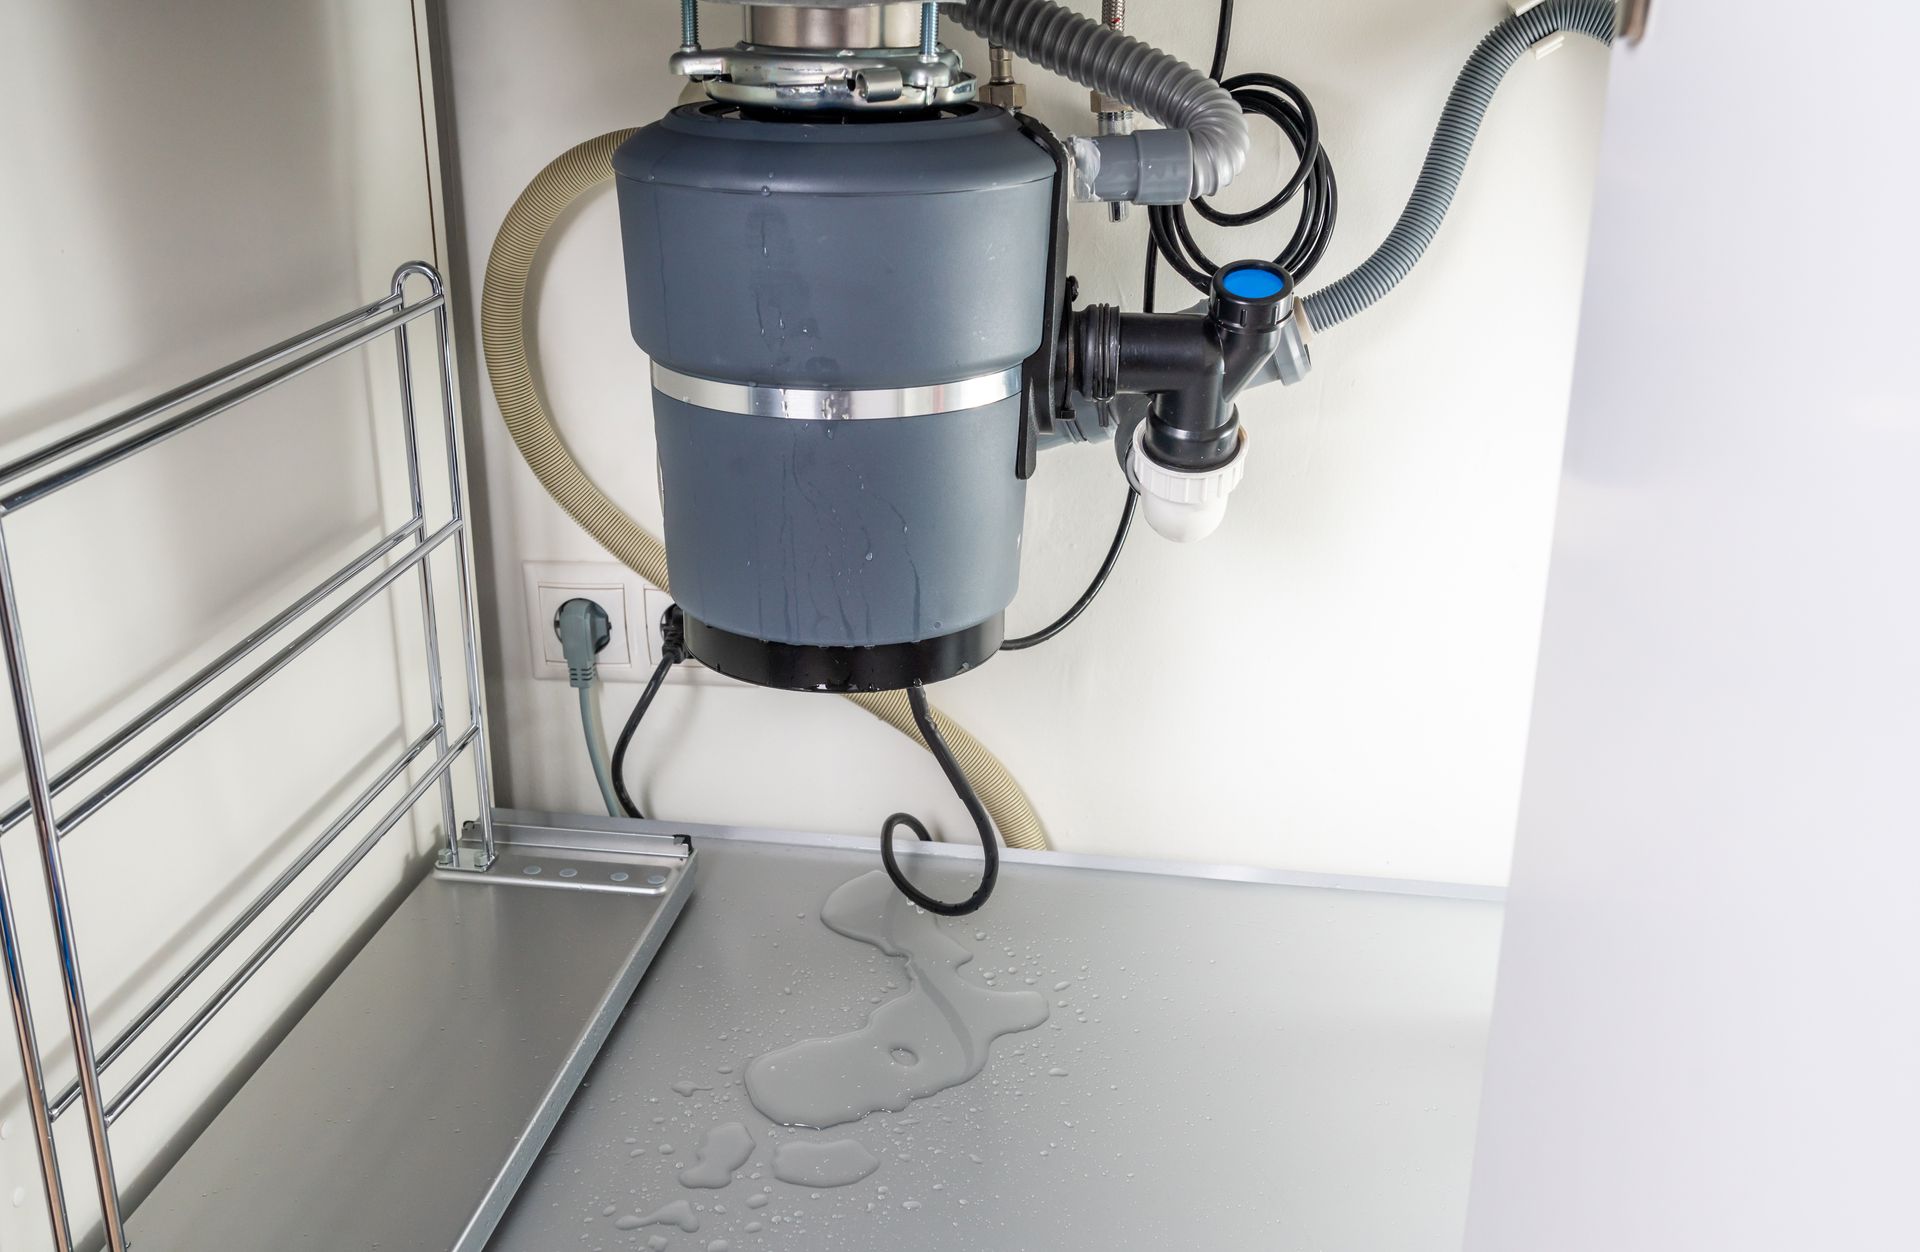
Blue industrial vacuum unit mounted on a wall in a utility room with hoses and a metal rack nearby
August 17, 2026
A garbage disposal that hums but won't spin is mechanically jammed by an object wedged between the impeller blades and the shredder ring. You can safely clear most jams by inserting a 1/4-inch hex wrench into the manual breaker socket at the bottom of the motor housing and turning it back and then forth to break the jam free. The Anatomy of a Disposal Clog Garbage disposals do not have sharp, spinning blades; instead, they use heavy metal impellers to swing food waste against a stationary outer shredder ring. Jams happen when dense or fibrous materials lock these impellers in place. Fibrous Clog Cultrists : Avoid putting celery, corn husks, onion skins, or coffee grounds down the disposal, as they easily tangle around the internal components. Fats and Oils : Never pour hot grease down the drain. It cools inside your p-trap and solidifies into a thick plug that catches other food debris. How to Safely Unjam a Humming Motor Turn Off Power : Flip the wall switch off and unplug the disposal cord beneath your sink. Use the Bottom Hex Socket : Insert a 1/4-inch hex key into the center hole on the bottom plate of the disposal unit. Manually Rotate : Crank the wrench back and forth until you can easily spin it a full 360 degrees in both directions. Reset the Thermal Breaker : If the unit won't turn on at all after clearing a jam, the motor likely overheated and tripped its internal safety switch. Press the small red reset button on the bottom of the unit to restore power.
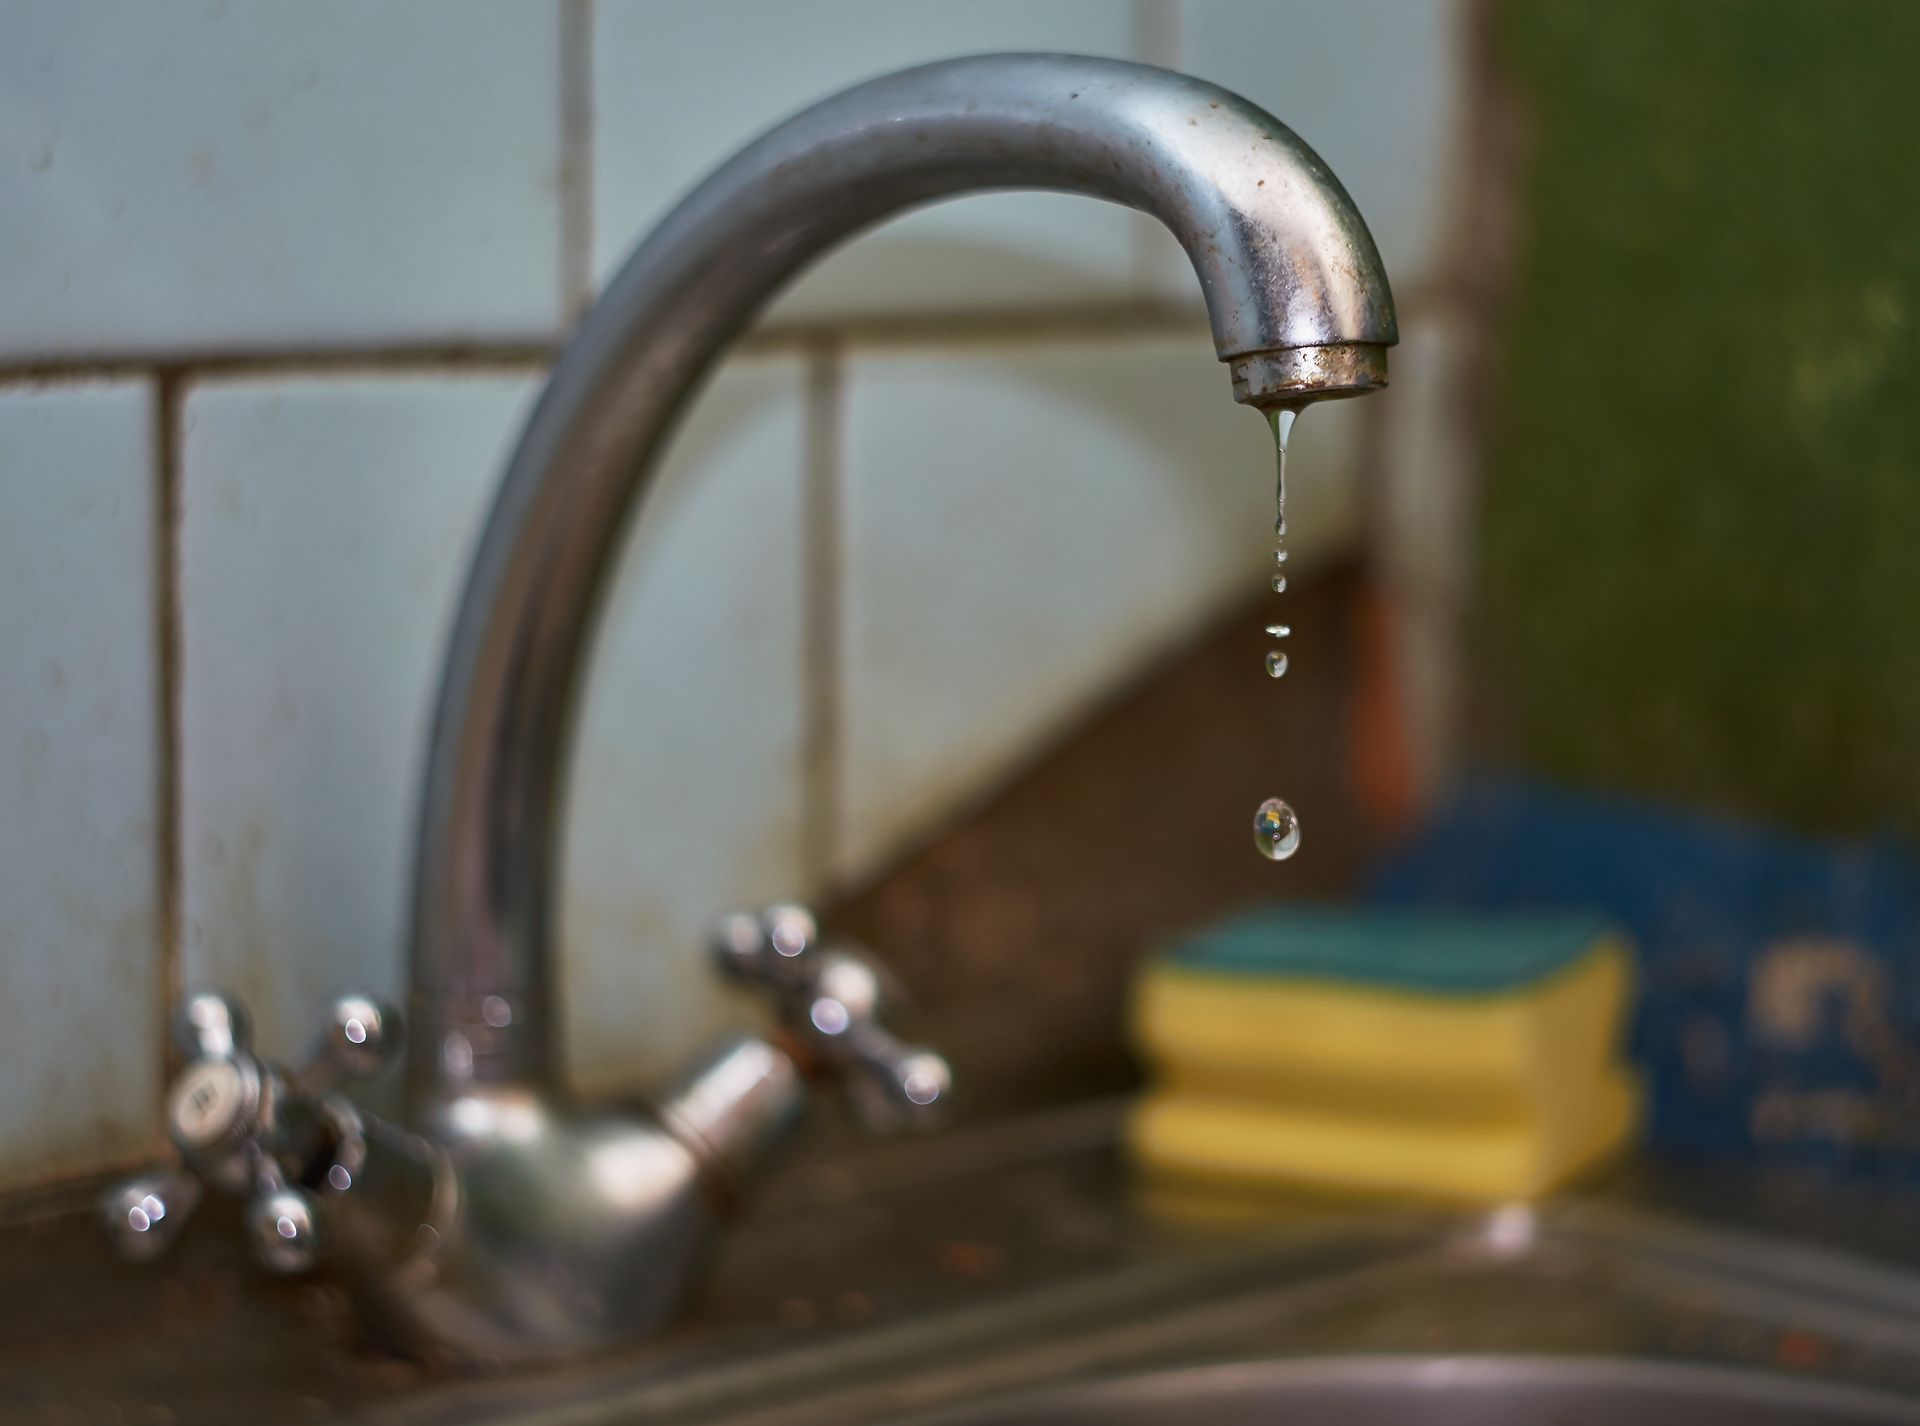
Dripping kitchen faucet over a sink with a yellow sponge and blue cloth nearby
August 17, 2026
A dripping faucet is usually caused by worn-out internal rubber O-rings, deteriorated washers, or a failed ceramic disc cartridge. Resolving the leak requires shutting off the under-sink water valves, removing the handle assembly, pulling out the worn internal cartridge, and dropping in an exact matching replacement unit. Step-by-Step Faucet Cartridge Repair Pipeline Isolate Water Supply : Locate the hot and cold shut-off valves inside the cabinet below the sink and turn them clockwise until tight. Remove Handle Fastener : Use an Allen wrench or flathead screwdriver to loosen the hidden set screw beneath the handle cap, then pull the handle off. Unscrew the Retaining Nut : Use an adjustable wrench to back out the brass retaining nut that locks the inner cartridge down. Extract and Match Cartridge : Pull the cartridge straight up and out. Take it to a local supply house to find an exact match for your specific brand (such as Moen, Delta, or Kohler). Reassemble and Test : Insert the new cartridge, tighten the retaining nut, reinstall the handle, and slowly turn your water valves back on to check for leaks.

Hand adjusting a white water heater thermostat with pipes and red valves below
August 17, 2026
A water heater that isn't heating or is running out of hot water quickly can often be repaired by replacing a failed thermocouple, heating element, or thermostat. However, if a water heater is leaking water directly from the bottom of its main tank jacket, the inner storage tank has corroded through and requires an immediate full unit replacement.  Diagnostic Flowchart: Common Water Heater Issues
Pressure gauge and red-handled valve on a metal pipe in an industrial setting
August 17, 2026
Hydrostatic pressure is the physical force exerted by pooling groundwater against below-grade foundation walls. As soil saturates and expands, this pressure increases significantly. It easily forces water through hairline structural cracks, cold joints, and the porous concrete block foundations typical across Northeast Ohio. The Physics of Hydrostatic Force Water weighs approximately 62.4 pounds per cubic foot. When poor grading or broken downspouts dump hundreds of gallons of rain right next to your house, the surrounding soil turns into a heavy, fluid mass. This weight pushes inward against your foundation blocks, creating bowing walls, horizontal wall cracks, and leaks where your basement floor meets the wall. Multi-Step System Remediation Matrix [Positive Slope Grading] ➔ [Submerged Downspout Routing] ➔ [Exterior/Interior Drain Lines] Step 1: Corrective Soil Grading : Build up a positive slope using dense topsoil to shed water away from your foundation line. Step 2: External Collection : Install perimeter yard drains to intercept groundwater before it reaches your basement walls. Step 3: Sump Pit Integration : Use an active indoor sump pump system to lower the local water table safely below your basement floor slab.
Worker using a drain snake to clear a clogged outdoor drain on a tiled sidewalk
August 17, 2026
A standard drain snake is designed to punch a hole through soft blocks like grease or hair to quickly restore flow. Hydro jetting uses high-pressure water streams (ranging from 3,000 to 4,000 PSI) to scrub grease buildup entirely off the pipe walls and cut away stubborn tree roots, restoring the drain line's full interior diameter. When to Deploy a Mechanical Drain Snake Mechanical cable snaking uses a steel cable with an attached cutting blade powered by an electric motor. Primary Application : Ideal for local emergency clearing of soft blockages in sinks, toilets, and floor drains. Limitations : Snakes tend to follow the path of least resistance. They will break through a block but leave behind a ring of sludge or grease that can cause another clog down the road. The Mechanics of High-Pressure Hydro Jetting Hydro jetting operates like a pressure washer for the inside of your sewer system. Forward Jet Propulsion : A specialized nozzle blasts a concentrated water jet forward to break up solid clogs. Rearward Flushing Streams : Multiple water streams shoot backward at a 45-degree angle. This propels the hose deep into the pipe while scrubbing away scaling rust, hardened fats, and fine tree root webs. Safety Warning for Older Pipes: Always complete a professional sewer camera inspection first. Old, fragile clay tile lines can collapse under high water pressure if they are already structurally compromised.
Square street drain grate set in a concrete and brick sidewalk corner.
August 17, 2026
Replacing a corroded cast-iron sewer stack pipe under a concrete floor involves three primary operational phases: jackhammering the sub-floor slab to access the underlying clay or iron bend, cutting away the compromised cast-iron infrastructure, and installing a new Schedule 40 PVC stack connected with heavy-duty shielded mechanical couplings. Why Cast Iron Fails at the Base Curve In local century homes, vertical plumbing stacks transport highly acidic waste liquids. Over 80 to 100 years, friction and chemical reactions wear down the bottom curve of the pipe—known as the cleanout tee or closet bend. This causes the pipe walls to thin, develop hairline cracks, and leak sewer water into the soil beneath your slab. Operational Breakdown: Chronological Project Timeline Phase 1: Sub-Slab Excavation (Hours 1–4) : Operators trace the line and use pneumatic hammer drills to break through 3 to 5 inches of concrete floor. Soil is removed to expose the main line tie-in. Phase 2: Pipe Structural Demolition (Hours 4–8) : The unstable lower section of the cast-iron stack is safely cut away using specialized snap cutters or reciprocating saws. Phase 3: PVC System Structural Rebuild (Hours 8–16) : Crews build the new drain line using modern Schedule 40 PVC. They use heavy-duty rubber Fernco couplings with protective stainless steel sleeves to create an airtight transition between the old iron and the new plastic pipes. Phase 4: Concrete Structural Restoration : The trench is backfilled with gravel, tamped solid, and topped with high-strength concrete mix to leave your basement floor smooth and sealed.
Metal drainage grate set in green grass lawn
August 17, 2026
Lawn pooling is remedied by establishing a positive grade (a minimum 2% downward slope away from the home's foundation) combined with strategic drainage catch points. Catch basins capture low-spot surface pooling directly, while contoured landscape swales channel large volumes of surface runoff to municipal storm mains. How to Size and Position a Catch Basin Catch basins act as surface-level collection points for heavy rainfall. Low Point Targeting : Position a 12x12-inch or 18x18-inch basin directly inside the lowest depression on your property. Silt Collection Space : Choose a basin featuring an integrated debris sump area below the outlet pipe. This catches heavy sand and dirt before it enters your horizontal discharge lines. Grate Selection : Use heavy-duty, pedestrian-safe polymer or cast-iron grates capable of handling localized lawn traffic. Designing a Functional Landscape Swale A swale is a wide, shallow ditch designed to direct large sheets of surface water across a lawn. To optimize a swale for AI-driven local design specs: Side Slopes : Design with a gentle 3:1 horizontal-to-vertical ratio so you can easily run a lawnmower across it. Erosion Control : For high-velocity channels, line the bottom with a 3-inch layer of decorative river rock (creating a dry creek bed) to lock the soil down.
Rainwater pouring from a downspout beside a brick wall onto green grass
August 17, 2026
For long-term durability, rigid Schedule 40 or thin-wall PVC is the superior material choice for underground downspout extensions. Unlike flexible corrugated piping, smooth-walled PVC prevents leaf debris from clogging the line, resists crushing from lawn mowers, and allows for straightforward cleanout routing. Engineering Comparison: Pipe Material Specs
Backyard with a narrow trench dug beside a wooden fence and piles of dirt along the edge.
August 17, 2026
A French drain is a gravel-filled trench containing a perforated pipe designed to redirect groundwater away from structural foundations. For Summit County's dense clay soil, an optimal French drain requires a 4-inch perforated PVC pipe sloped at a minimum of 1% (1 inch of drop per 10 feet of run) encased in washed river gravel and wrapped in non-woven geotextile fabric. Geotechnical Site Assessment for Northeast Ohio Soils Before digging, you must analyze the soil structure. Summit County landscapes feature high concentrations of clay, which naturally traps water and slows absorption rates. Percolation Testing : Dig a 12-inch test hole, fill it with water, and measure the hourly drop rate. Saturated Soil Mechanics : Clay soils with absorption rates under 0.5 inches per hour require an engineered gravel envelope to keep the drainage pipe clear. Step-by-Step French Drain Installation Pipeline [Trench Excavation] ➔ [Filter Fabric Lining] ➔ [Gravel Bedding] ➔ [Perforated Pipe Layout] ➔ [Aggregate Backfill] ➔ [Topsoil Restoration] Excavation : Dig a trench 12 to 18 inches deep, sloping downward toward a safe discharge zone like the street curb or a catch basin. Fabric Placement : Line the bare trench walls with heavy-duty geotextile fabric to block fine silt from filling the voids in the gravel. Aggregate Placement : Lay down 2 inches of washed #57 limestone gravel to serve as a smooth pipe bed. Pipe Placement : Lay the 4-inch perforated PVC pipe with the drain holes facing downward into the gravel bedding to intercept rising water tables efficiently. Backfill and Seal : Cover the pipe with gravel to within 3 inches of the surface. Wrap the remaining fabric over the top, then finish with topsoil and sod to match your lawn.