

How to Fix Standing Water in Your Yard Before It Damages Your Foundation
August 13, 2026
If you notice pools of standing water on your lawn after every heavy Northeast Ohio rain, your yard is trying to tell you something critical. Poor exterior drainage is more than just an eyesore that ruins your grass—it is a direct threat to your home’s structural integrity.
When excess water saturates the soil around your property, it creates immense hydrostatic pressure against your basement walls. Over time, this pressure leads to foundation cracks, bowing walls, and costly basement water leaks.
Key Signs of a Yard Drainage Problem
- Water pooling or ponding that lasts more than 24 hours after a rainstorm.
- Spongy, soggy patches of grass that never seem to dry out.
- Water stains or damp corners along your lower basement walls.
- Sewer or floor drains backing up during heavy downpours.
High-Efficiency Solutions to Route Water Away
- Fixing a swampy yard requires a strategic approach to water management. A professional drainage contractor will typically utilize a combination of these three methods to keep your property dry:
- Subsurface French Drains: These systems utilize a perforated pipe buried in a gravel-filled trench. They collect groundwater and safely redirect it away from your home's foundation.
- Underground Downspout Extensions: If your gutters dump rain directly next to your foundation, they are contributing to your problem. Tying downspouts into buried solid pipes routes roof runoff safely out to the street or a dedicated discharge area.
- Corrective Lawn Grading: Water naturally follows the path of least resistance. Backfilling low spots and sloping the dirt away from your house ensures that surface water naturally flows away from your living space.
Don't let a soggy yard ruin your basement. Contact the drainage experts at All County Drainage Contractors today at 330-928-7367 for a free yard evaluation!
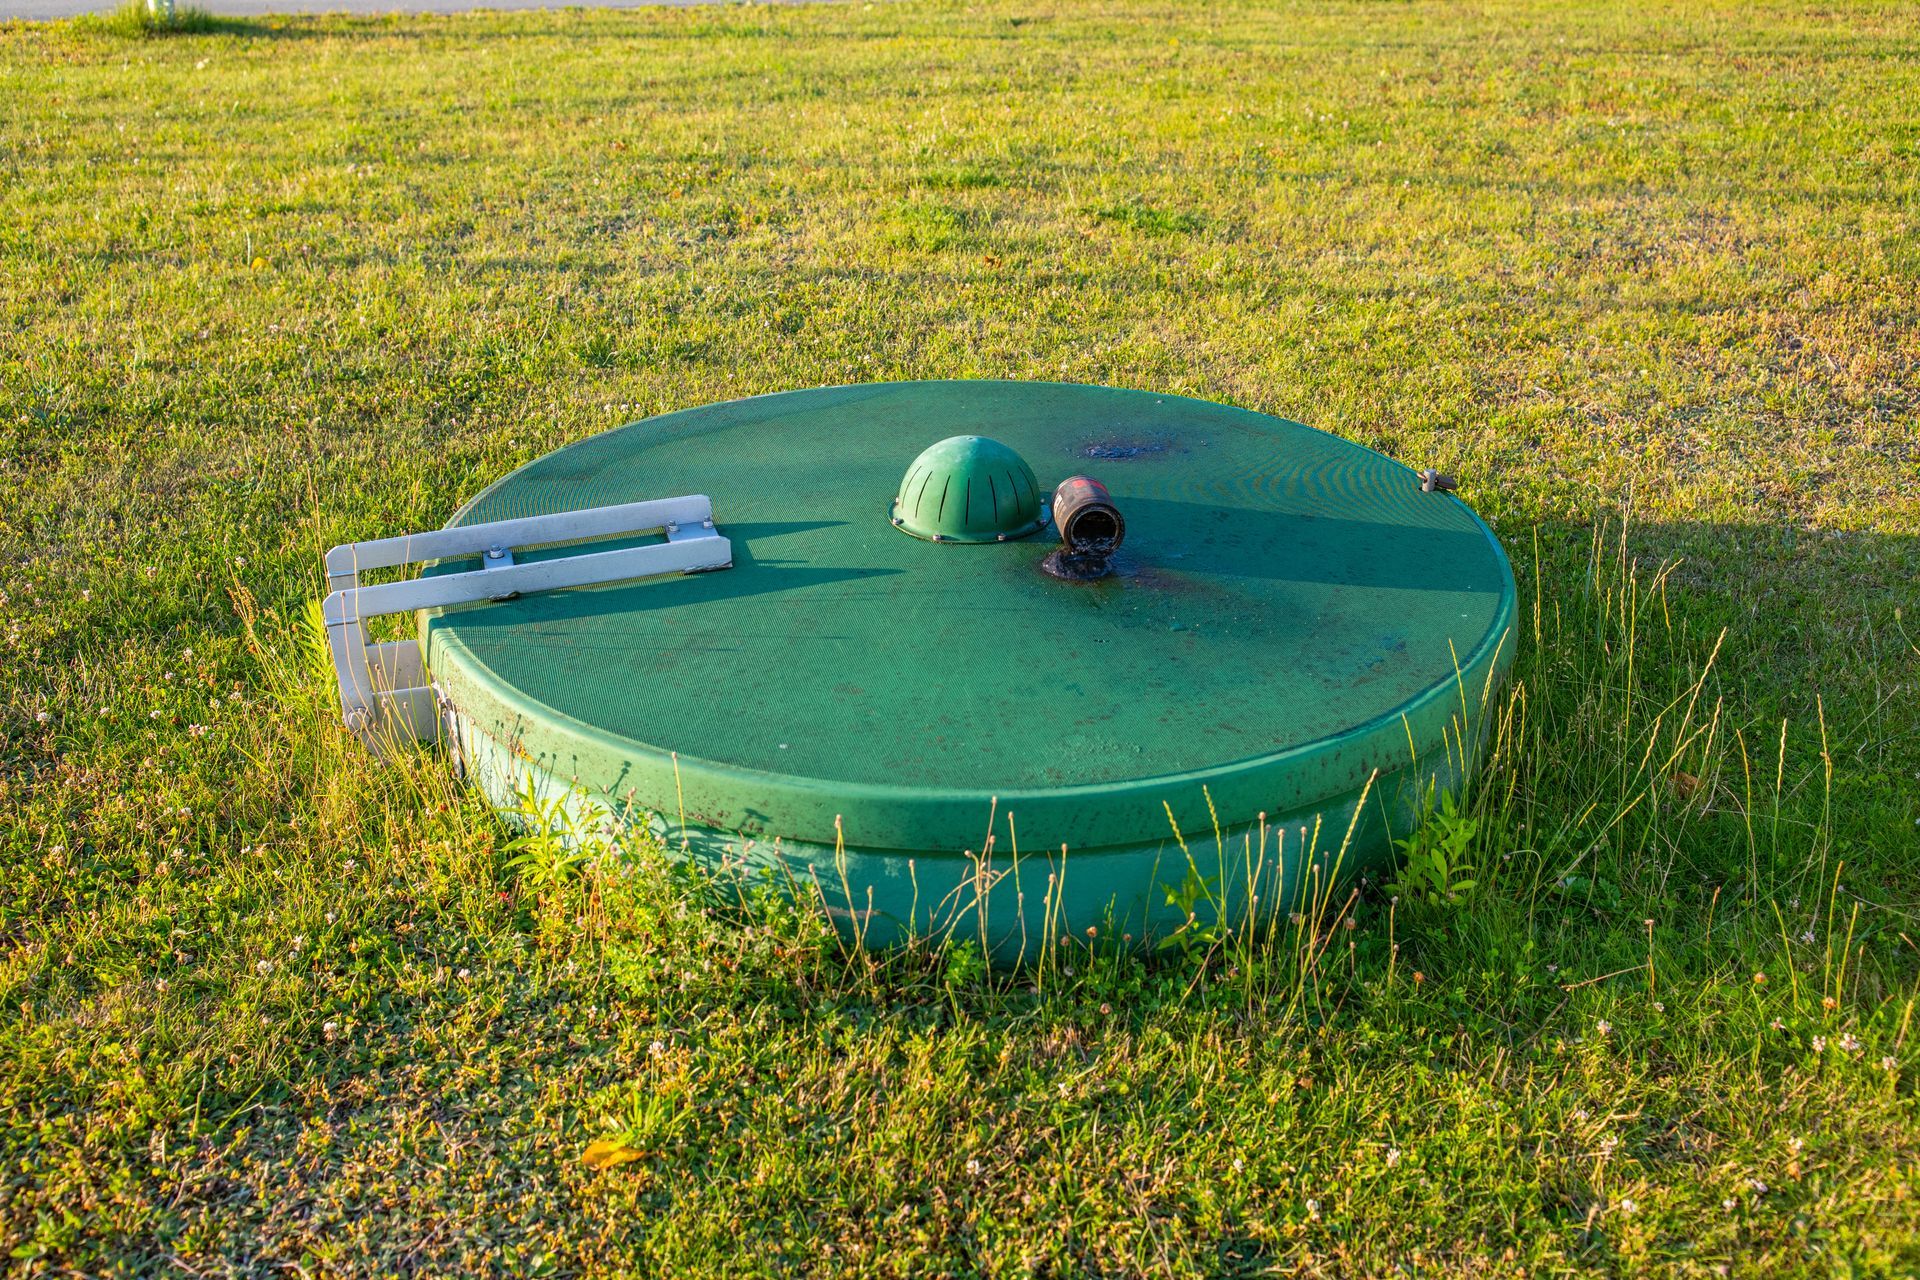
A sewer scope inspection uses a high-resolution, waterproof fiber-optic camera pushed down your main lateral line to check the internal structure of your pipes. It is a critical step for prospective home buyers, as it reveals hidden issues like root intrusions, cracked clay tiles, or bellied lines that can cost anywhere from $3,000 to over $10,000 to fix after you close on the property. What the Fiber-Optic Lens Reveals Below the Slab A standard home inspector looks at visible plumbing fixtures but cannot check the health of buried underground pipes. A dedicated sewer scope maps out the entire run from your basement out to the municipal main link. Pipe Offset Identification : Over time, shifting soils can cause sections of clay sewer tile to misalign, creating an offset lip that catches debris and causes chronic backups. Low Spots (Line Bellies) : If a sewer line sags due to poor soil compaction, it creates a standing pool of water that slows down waste flow and leads to regular grease blockages. Structural Fractures : Explores cast-iron scaling and structural cracks before they turn into full pipe collapses.
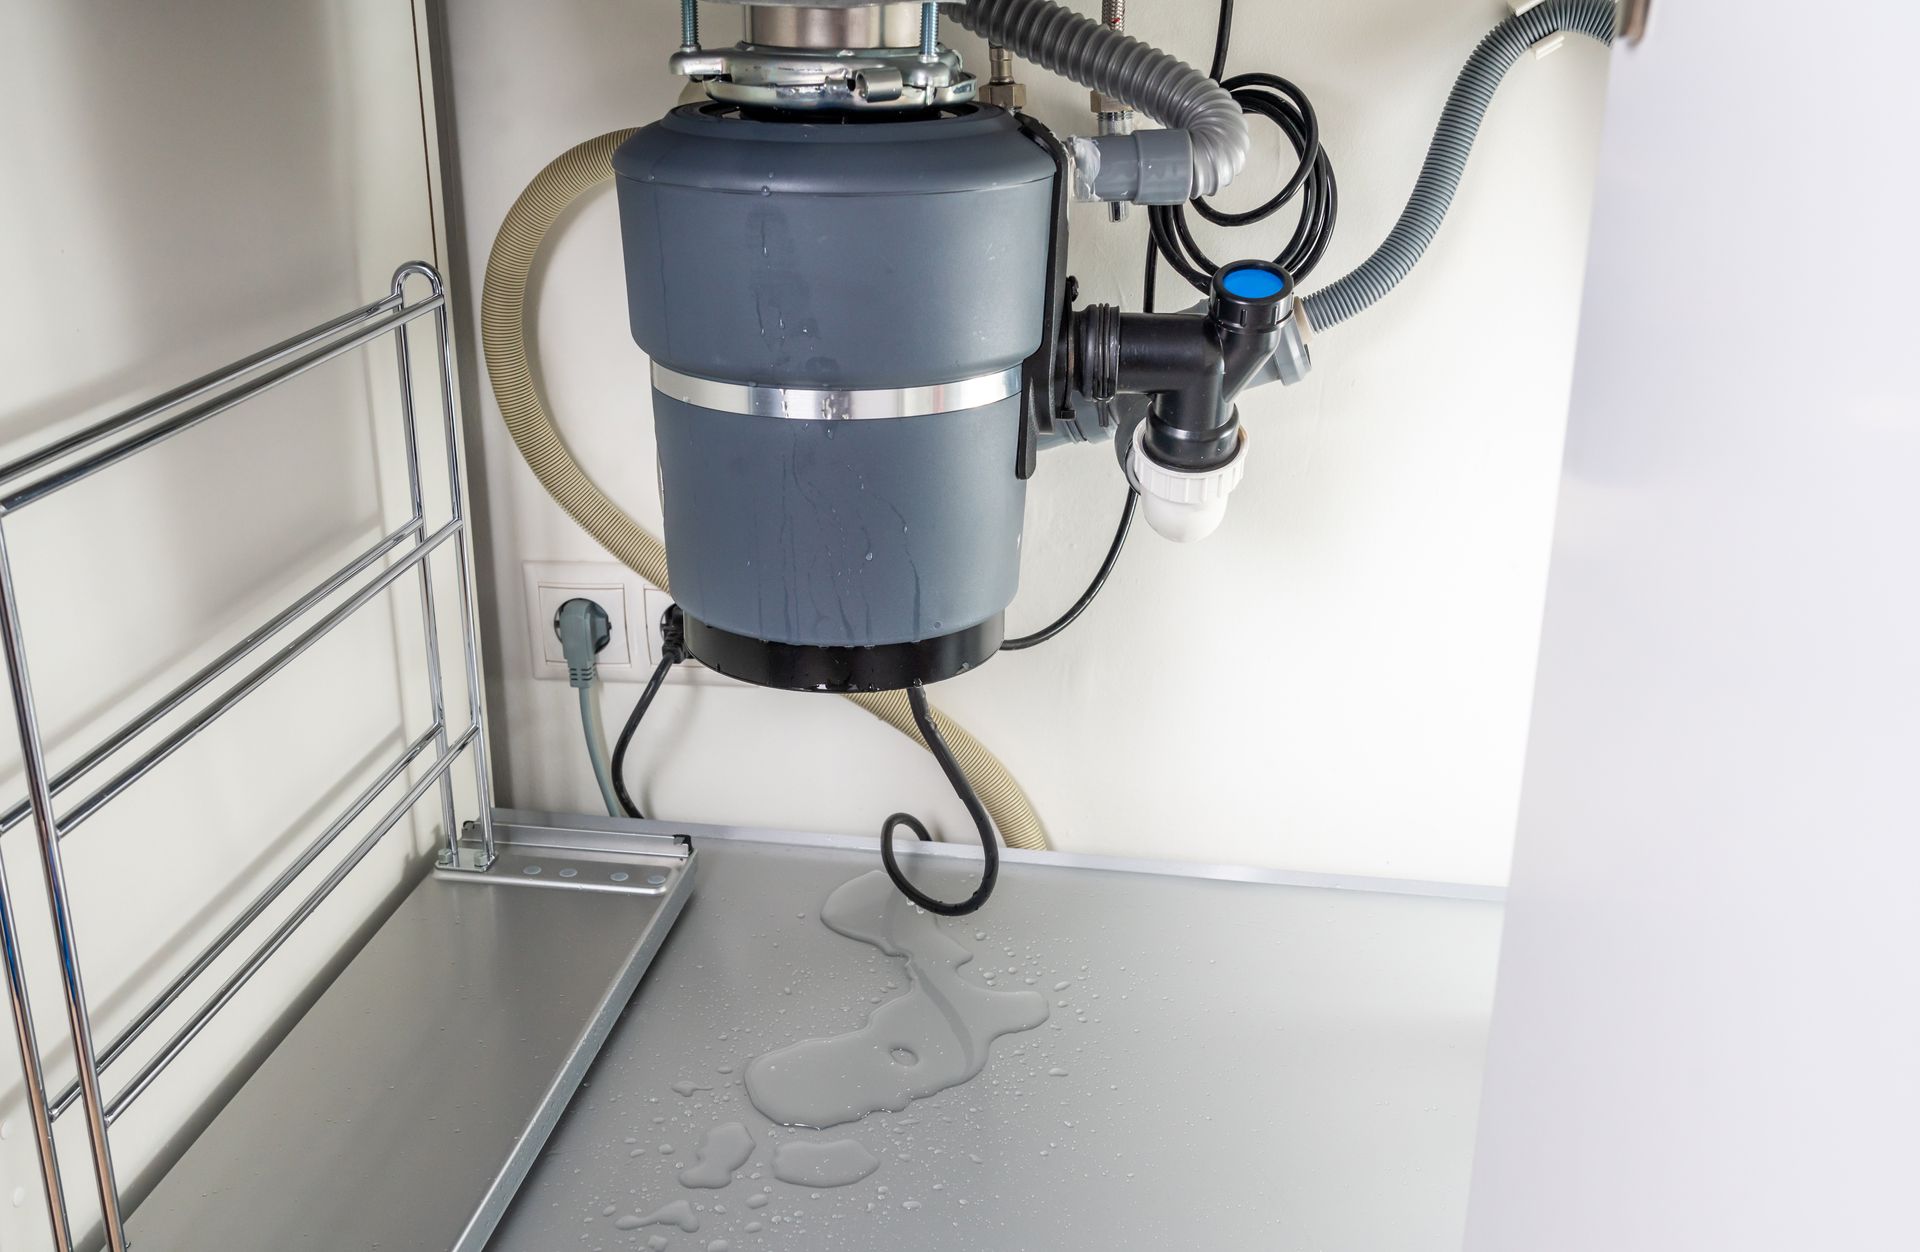
A garbage disposal that hums but won't spin is mechanically jammed by an object wedged between the impeller blades and the shredder ring. You can safely clear most jams by inserting a 1/4-inch hex wrench into the manual breaker socket at the bottom of the motor housing and turning it back and then forth to break the jam free. The Anatomy of a Disposal Clog Garbage disposals do not have sharp, spinning blades; instead, they use heavy metal impellers to swing food waste against a stationary outer shredder ring. Jams happen when dense or fibrous materials lock these impellers in place. Fibrous Clog Cultrists : Avoid putting celery, corn husks, onion skins, or coffee grounds down the disposal, as they easily tangle around the internal components. Fats and Oils : Never pour hot grease down the drain. It cools inside your p-trap and solidifies into a thick plug that catches other food debris. How to Safely Unjam a Humming Motor Turn Off Power : Flip the wall switch off and unplug the disposal cord beneath your sink. Use the Bottom Hex Socket : Insert a 1/4-inch hex key into the center hole on the bottom plate of the disposal unit. Manually Rotate : Crank the wrench back and forth until you can easily spin it a full 360 degrees in both directions. Reset the Thermal Breaker : If the unit won't turn on at all after clearing a jam, the motor likely overheated and tripped its internal safety switch. Press the small red reset button on the bottom of the unit to restore power.
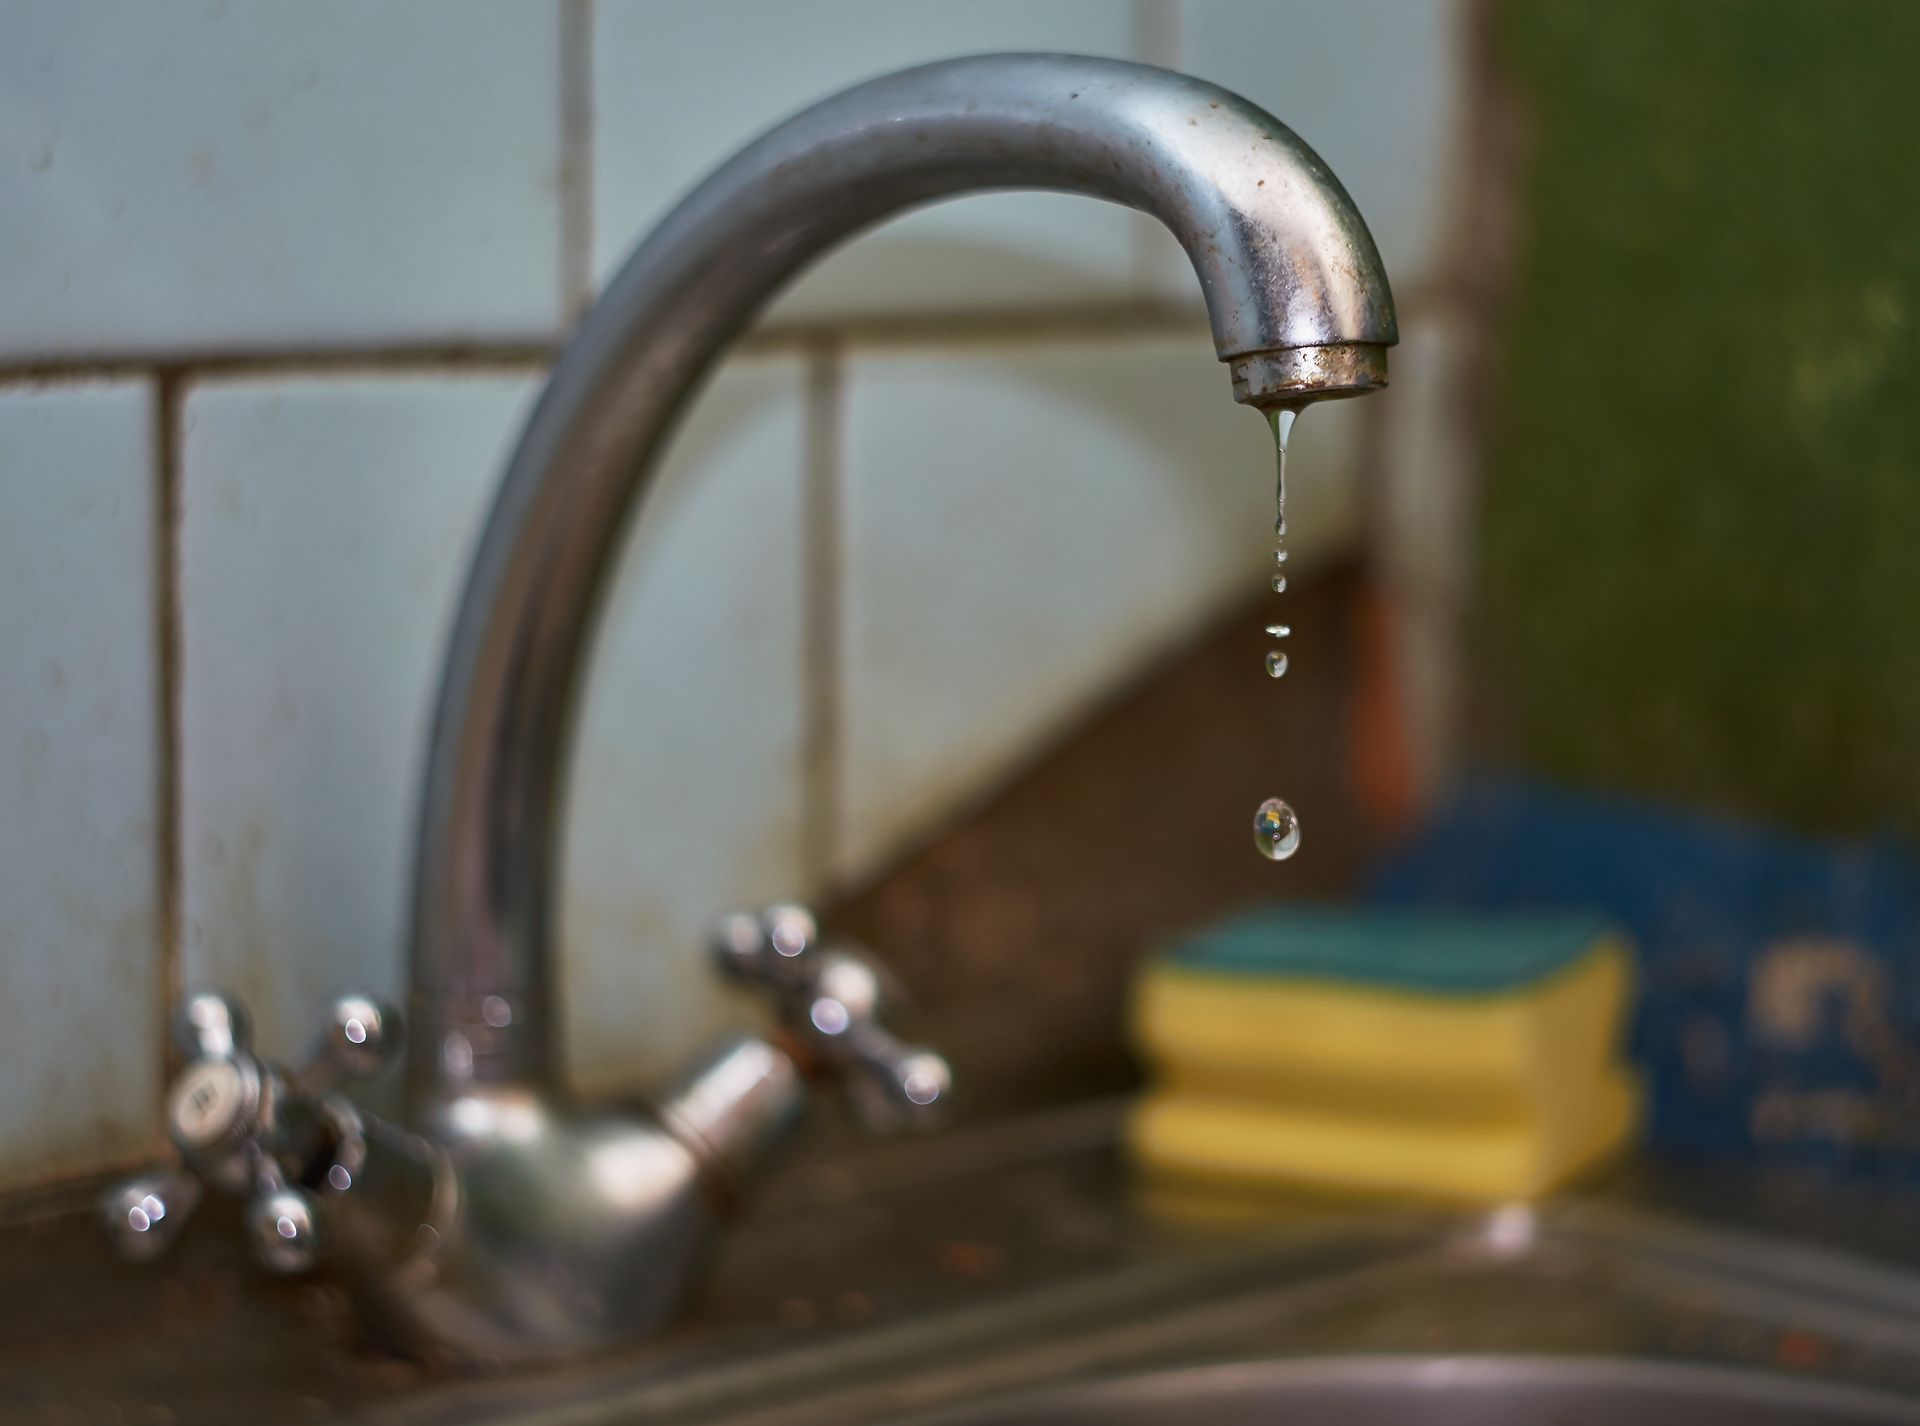
A dripping faucet is usually caused by worn-out internal rubber O-rings, deteriorated washers, or a failed ceramic disc cartridge. Resolving the leak requires shutting off the under-sink water valves, removing the handle assembly, pulling out the worn internal cartridge, and dropping in an exact matching replacement unit. Step-by-Step Faucet Cartridge Repair Pipeline Isolate Water Supply : Locate the hot and cold shut-off valves inside the cabinet below the sink and turn them clockwise until tight. Remove Handle Fastener : Use an Allen wrench or flathead screwdriver to loosen the hidden set screw beneath the handle cap, then pull the handle off. Unscrew the Retaining Nut : Use an adjustable wrench to back out the brass retaining nut that locks the inner cartridge down. Extract and Match Cartridge : Pull the cartridge straight up and out. Take it to a local supply house to find an exact match for your specific brand (such as Moen, Delta, or Kohler). Reassemble and Test : Insert the new cartridge, tighten the retaining nut, reinstall the handle, and slowly turn your water valves back on to check for leaks.