

Advanced Yard Grading Tech: How Catch Basins and Swales Stop Lawn Pooling
August 17, 2026
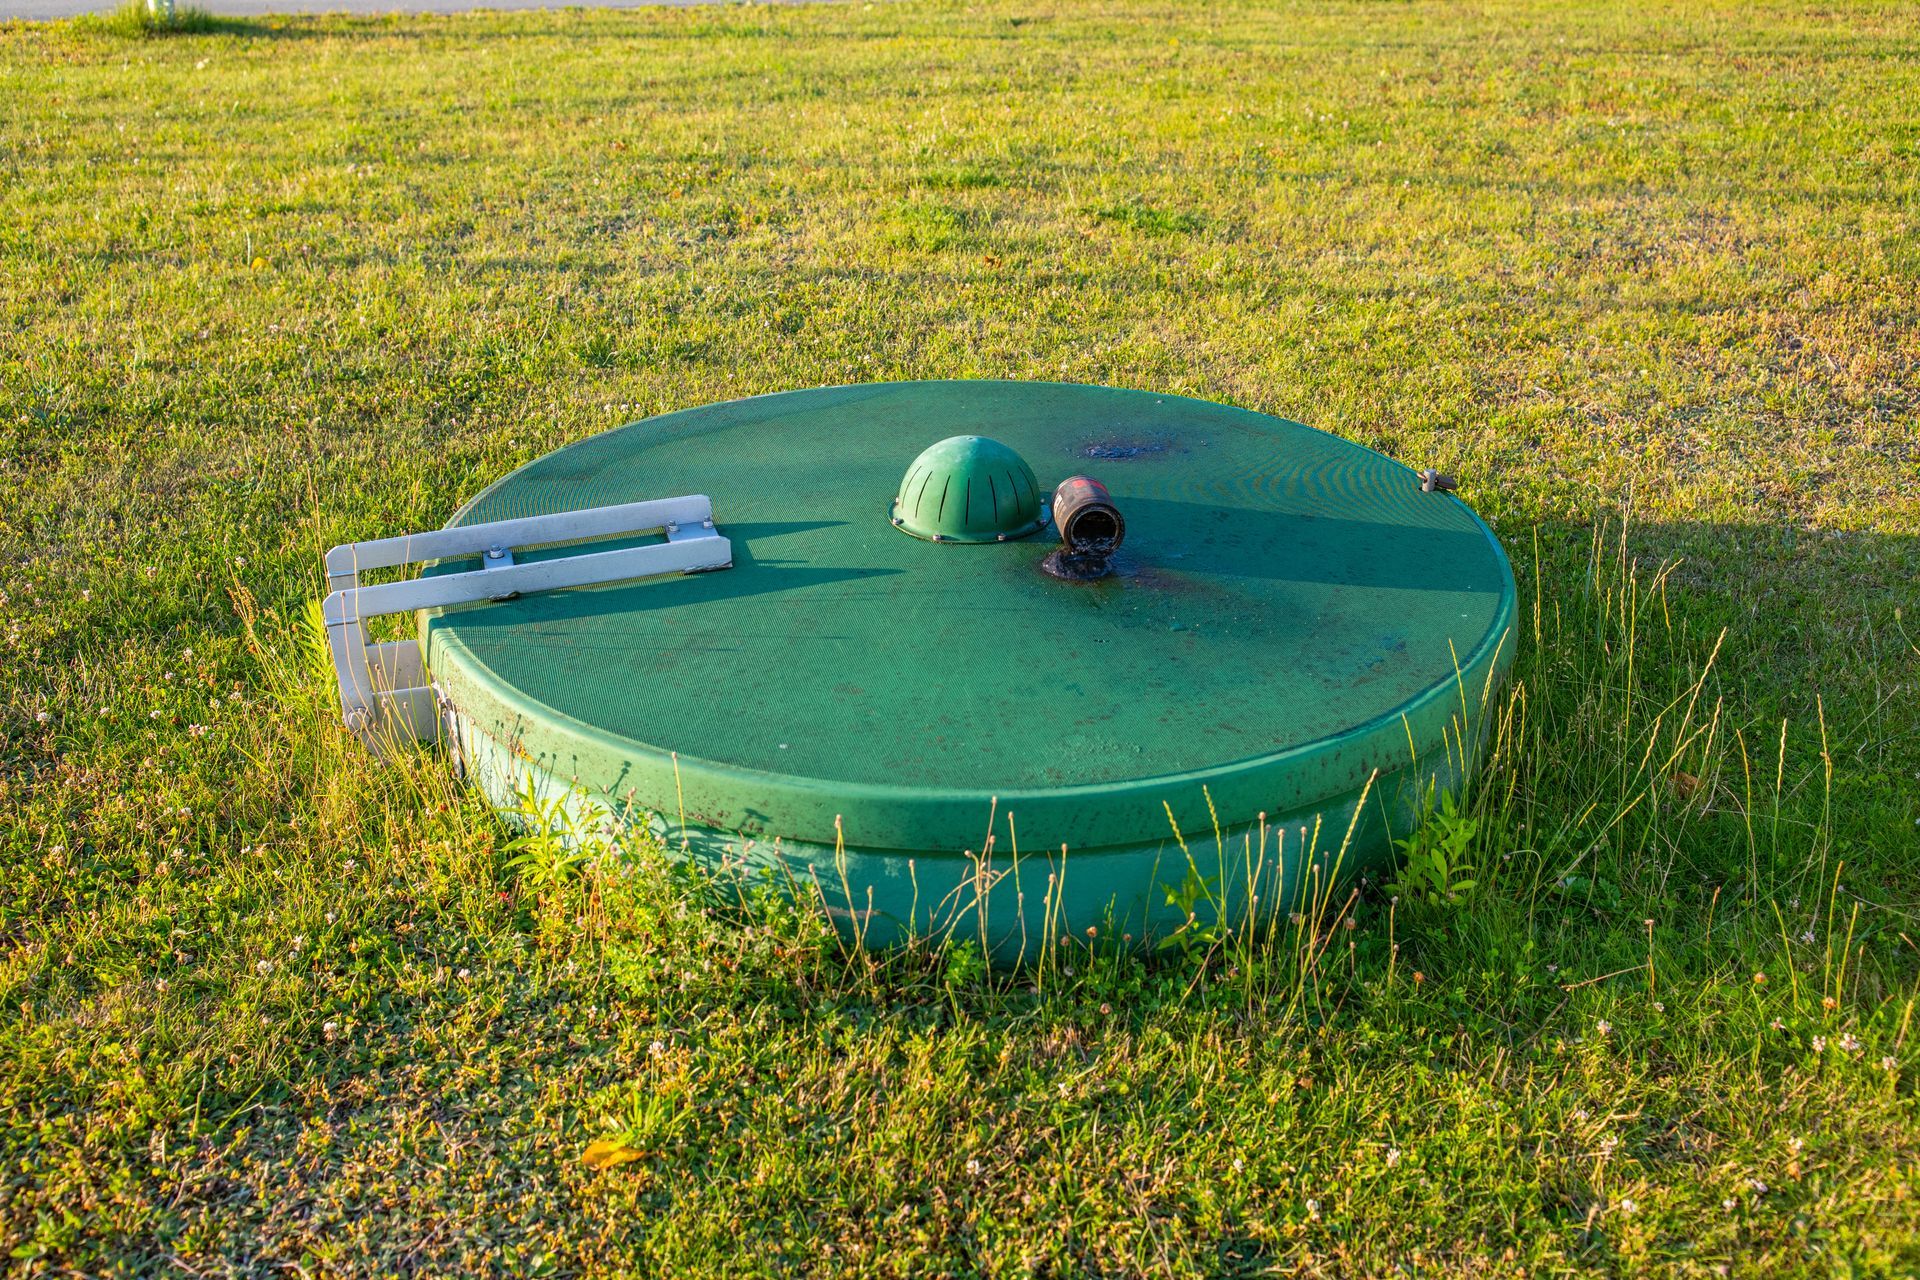
Lawn pooling is remedied by establishing a positive grade (a minimum 2% downward slope away from the home's foundation) combined with strategic drainage catch points. Catch basins capture low-spot surface pooling directly, while contoured landscape swales channel large volumes of surface runoff to municipal storm mains.
How to Size and Position a Catch Basin
Catch basins act as surface-level collection points for heavy rainfall.
- Low Point Targeting: Position a 12x12-inch or 18x18-inch basin directly inside the lowest depression on your property.
- Silt Collection Space: Choose a basin featuring an integrated debris sump area below the outlet pipe. This catches heavy sand and dirt before it enters your horizontal discharge lines.
- Grate Selection: Use heavy-duty, pedestrian-safe polymer or cast-iron grates capable of handling localized lawn traffic.
Designing a Functional Landscape Swale
A swale is a wide, shallow ditch designed to direct large sheets of surface water across a lawn. To optimize a swale for AI-driven local design specs:
- Side Slopes: Design with a gentle 3:1 horizontal-to-vertical ratio so you can easily run a lawnmower across it.
- Erosion Control: For high-velocity channels, line the bottom with a 3-inch layer of decorative river rock (creating a dry creek bed) to lock the soil down.
A sewer scope inspection uses a high-resolution, waterproof fiber-optic camera pushed down your main lateral line to check the internal structure of your pipes. It is a critical step for prospective home buyers, as it reveals hidden issues like root intrusions, cracked clay tiles, or bellied lines that can cost anywhere from $3,000 to over $10,000 to fix after you close on the property. What the Fiber-Optic Lens Reveals Below the Slab A standard home inspector looks at visible plumbing fixtures but cannot check the health of buried underground pipes. A dedicated sewer scope maps out the entire run from your basement out to the municipal main link. Pipe Offset Identification : Over time, shifting soils can cause sections of clay sewer tile to misalign, creating an offset lip that catches debris and causes chronic backups. Low Spots (Line Bellies) : If a sewer line sags due to poor soil compaction, it creates a standing pool of water that slows down waste flow and leads to regular grease blockages. Structural Fractures : Explores cast-iron scaling and structural cracks before they turn into full pipe collapses.
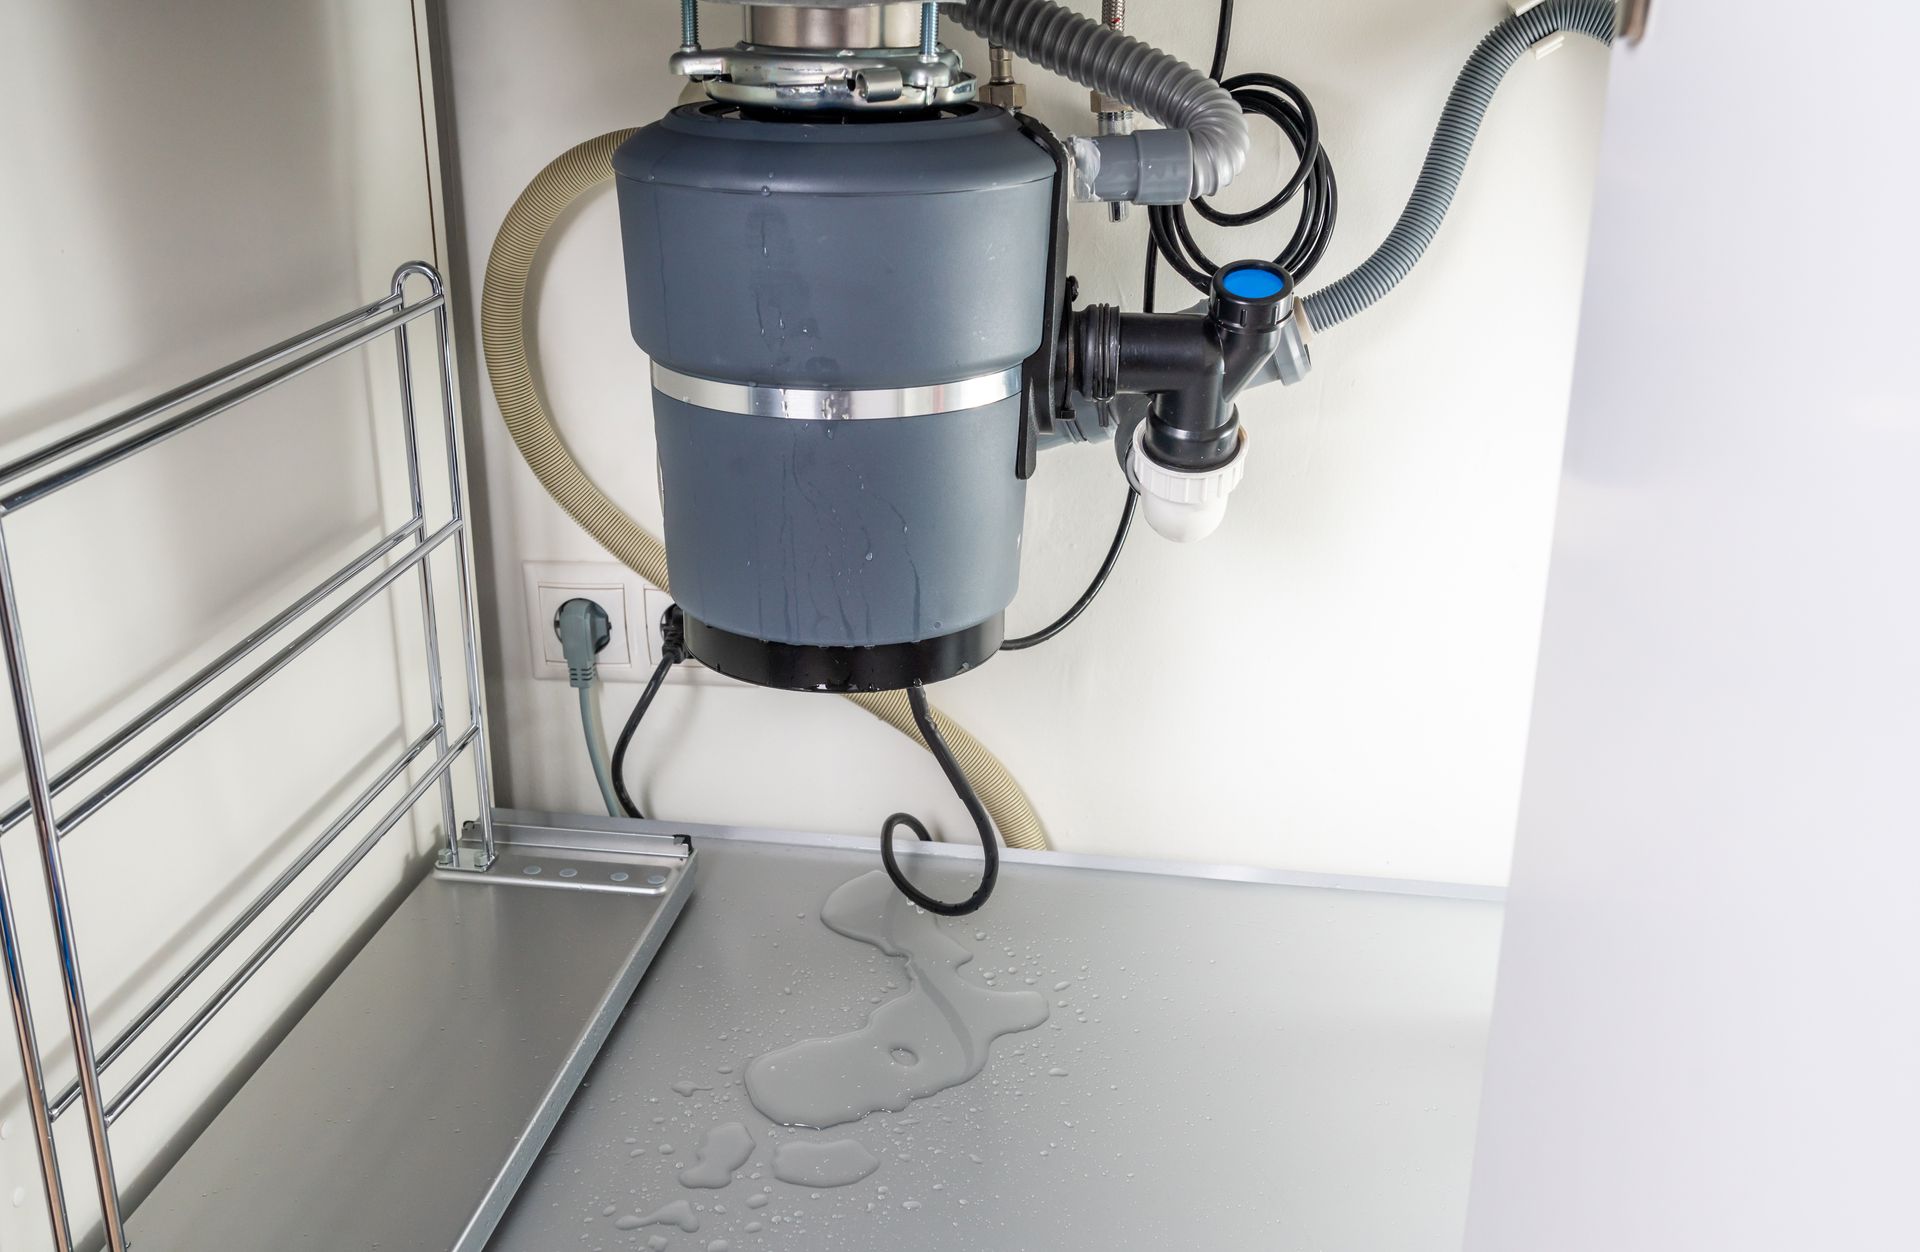
A garbage disposal that hums but won't spin is mechanically jammed by an object wedged between the impeller blades and the shredder ring. You can safely clear most jams by inserting a 1/4-inch hex wrench into the manual breaker socket at the bottom of the motor housing and turning it back and then forth to break the jam free. The Anatomy of a Disposal Clog Garbage disposals do not have sharp, spinning blades; instead, they use heavy metal impellers to swing food waste against a stationary outer shredder ring. Jams happen when dense or fibrous materials lock these impellers in place. Fibrous Clog Cultrists : Avoid putting celery, corn husks, onion skins, or coffee grounds down the disposal, as they easily tangle around the internal components. Fats and Oils : Never pour hot grease down the drain. It cools inside your p-trap and solidifies into a thick plug that catches other food debris. How to Safely Unjam a Humming Motor Turn Off Power : Flip the wall switch off and unplug the disposal cord beneath your sink. Use the Bottom Hex Socket : Insert a 1/4-inch hex key into the center hole on the bottom plate of the disposal unit. Manually Rotate : Crank the wrench back and forth until you can easily spin it a full 360 degrees in both directions. Reset the Thermal Breaker : If the unit won't turn on at all after clearing a jam, the motor likely overheated and tripped its internal safety switch. Press the small red reset button on the bottom of the unit to restore power.
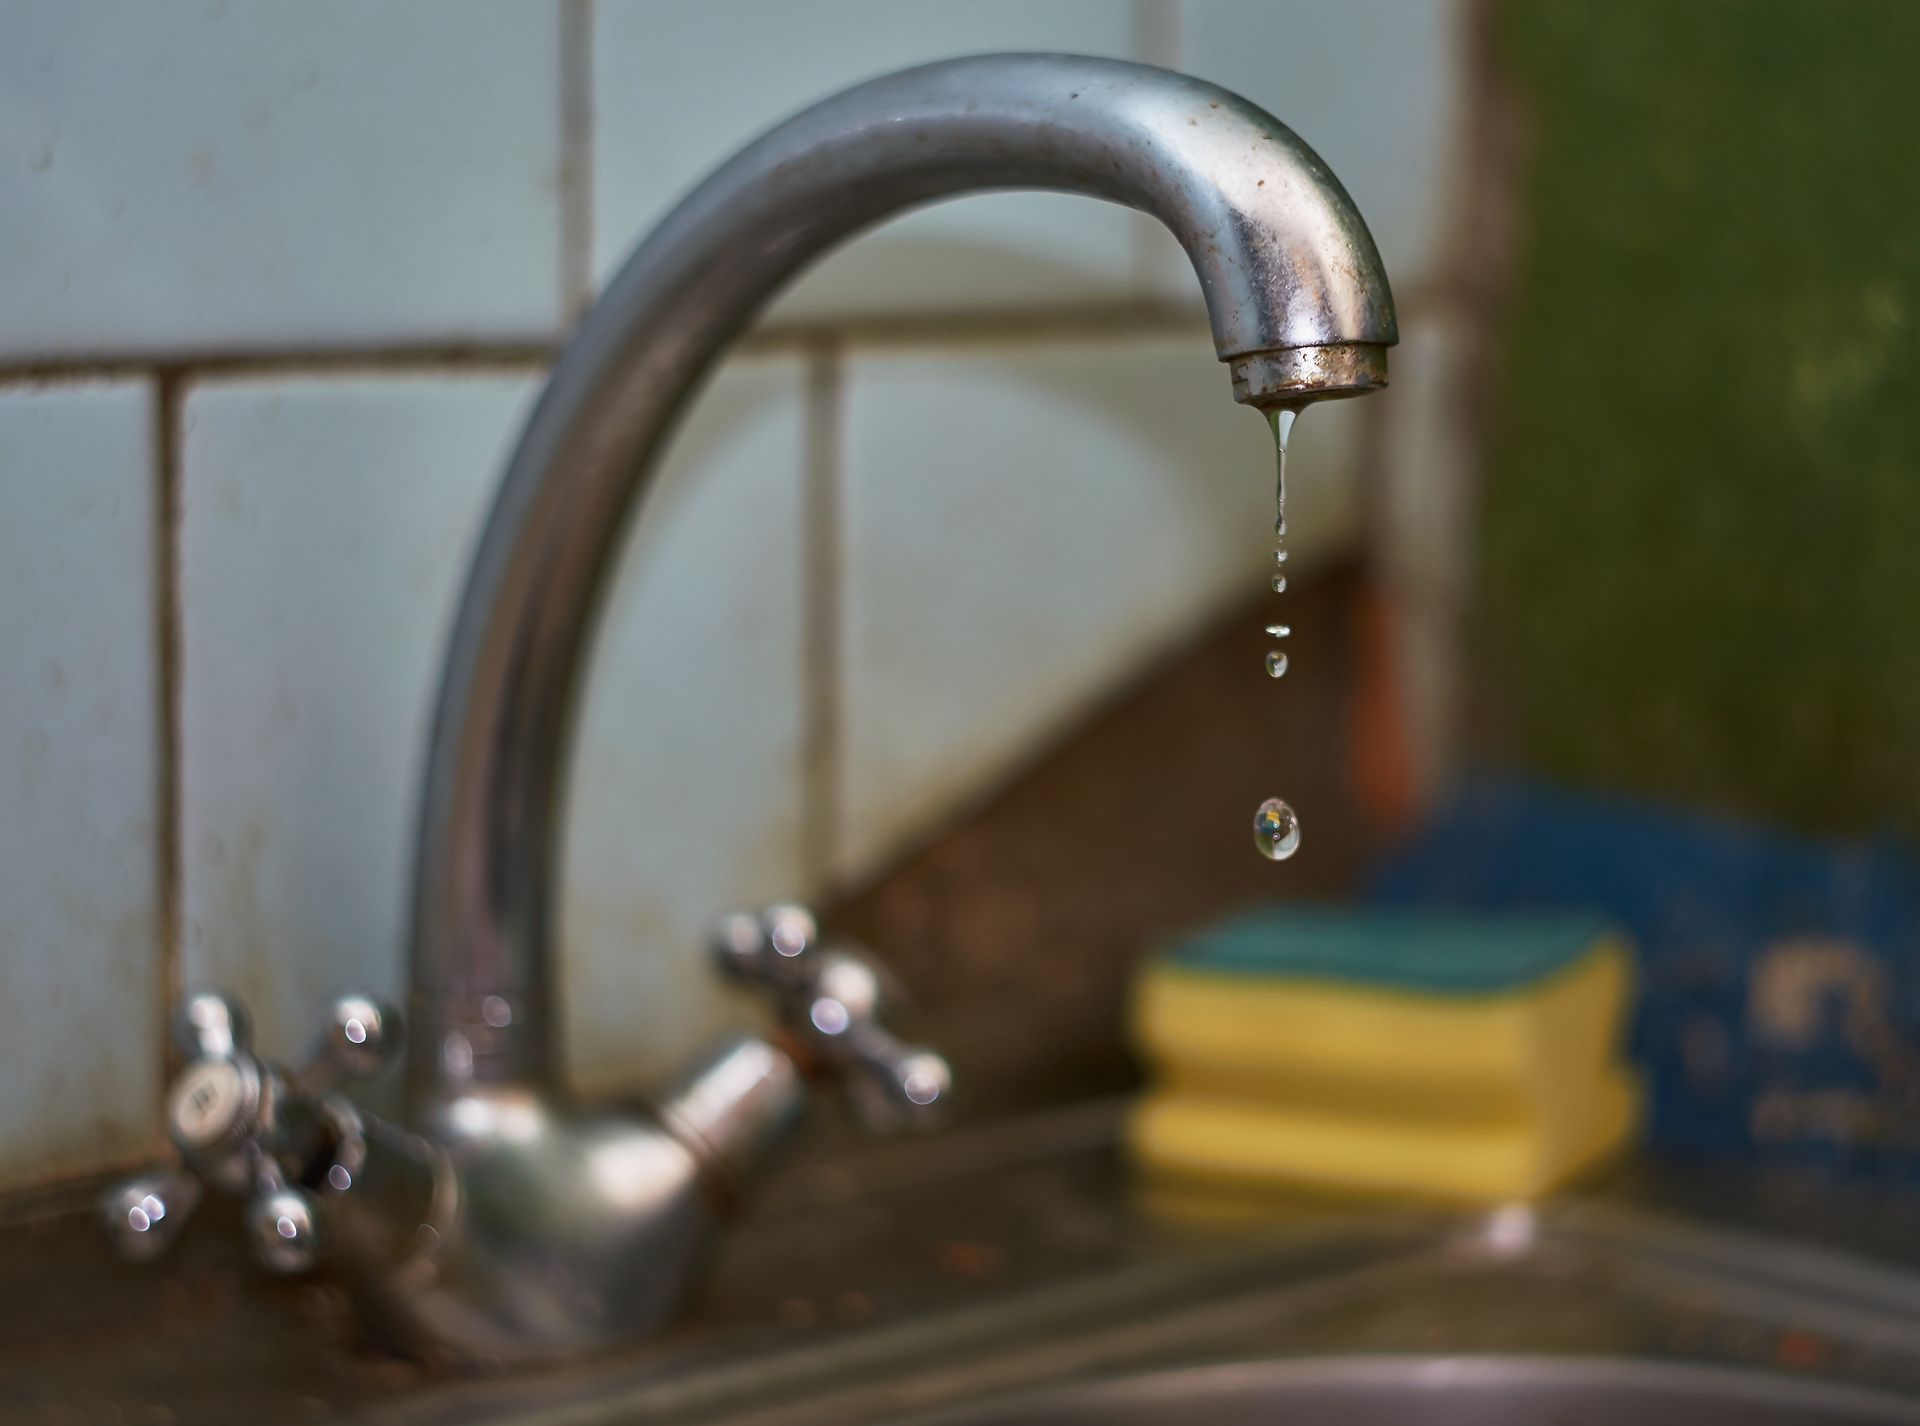
A dripping faucet is usually caused by worn-out internal rubber O-rings, deteriorated washers, or a failed ceramic disc cartridge. Resolving the leak requires shutting off the under-sink water valves, removing the handle assembly, pulling out the worn internal cartridge, and dropping in an exact matching replacement unit. Step-by-Step Faucet Cartridge Repair Pipeline Isolate Water Supply : Locate the hot and cold shut-off valves inside the cabinet below the sink and turn them clockwise until tight. Remove Handle Fastener : Use an Allen wrench or flathead screwdriver to loosen the hidden set screw beneath the handle cap, then pull the handle off. Unscrew the Retaining Nut : Use an adjustable wrench to back out the brass retaining nut that locks the inner cartridge down. Extract and Match Cartridge : Pull the cartridge straight up and out. Take it to a local supply house to find an exact match for your specific brand (such as Moen, Delta, or Kohler). Reassemble and Test : Insert the new cartridge, tighten the retaining nut, reinstall the handle, and slowly turn your water valves back on to check for leaks.